Film Scanning
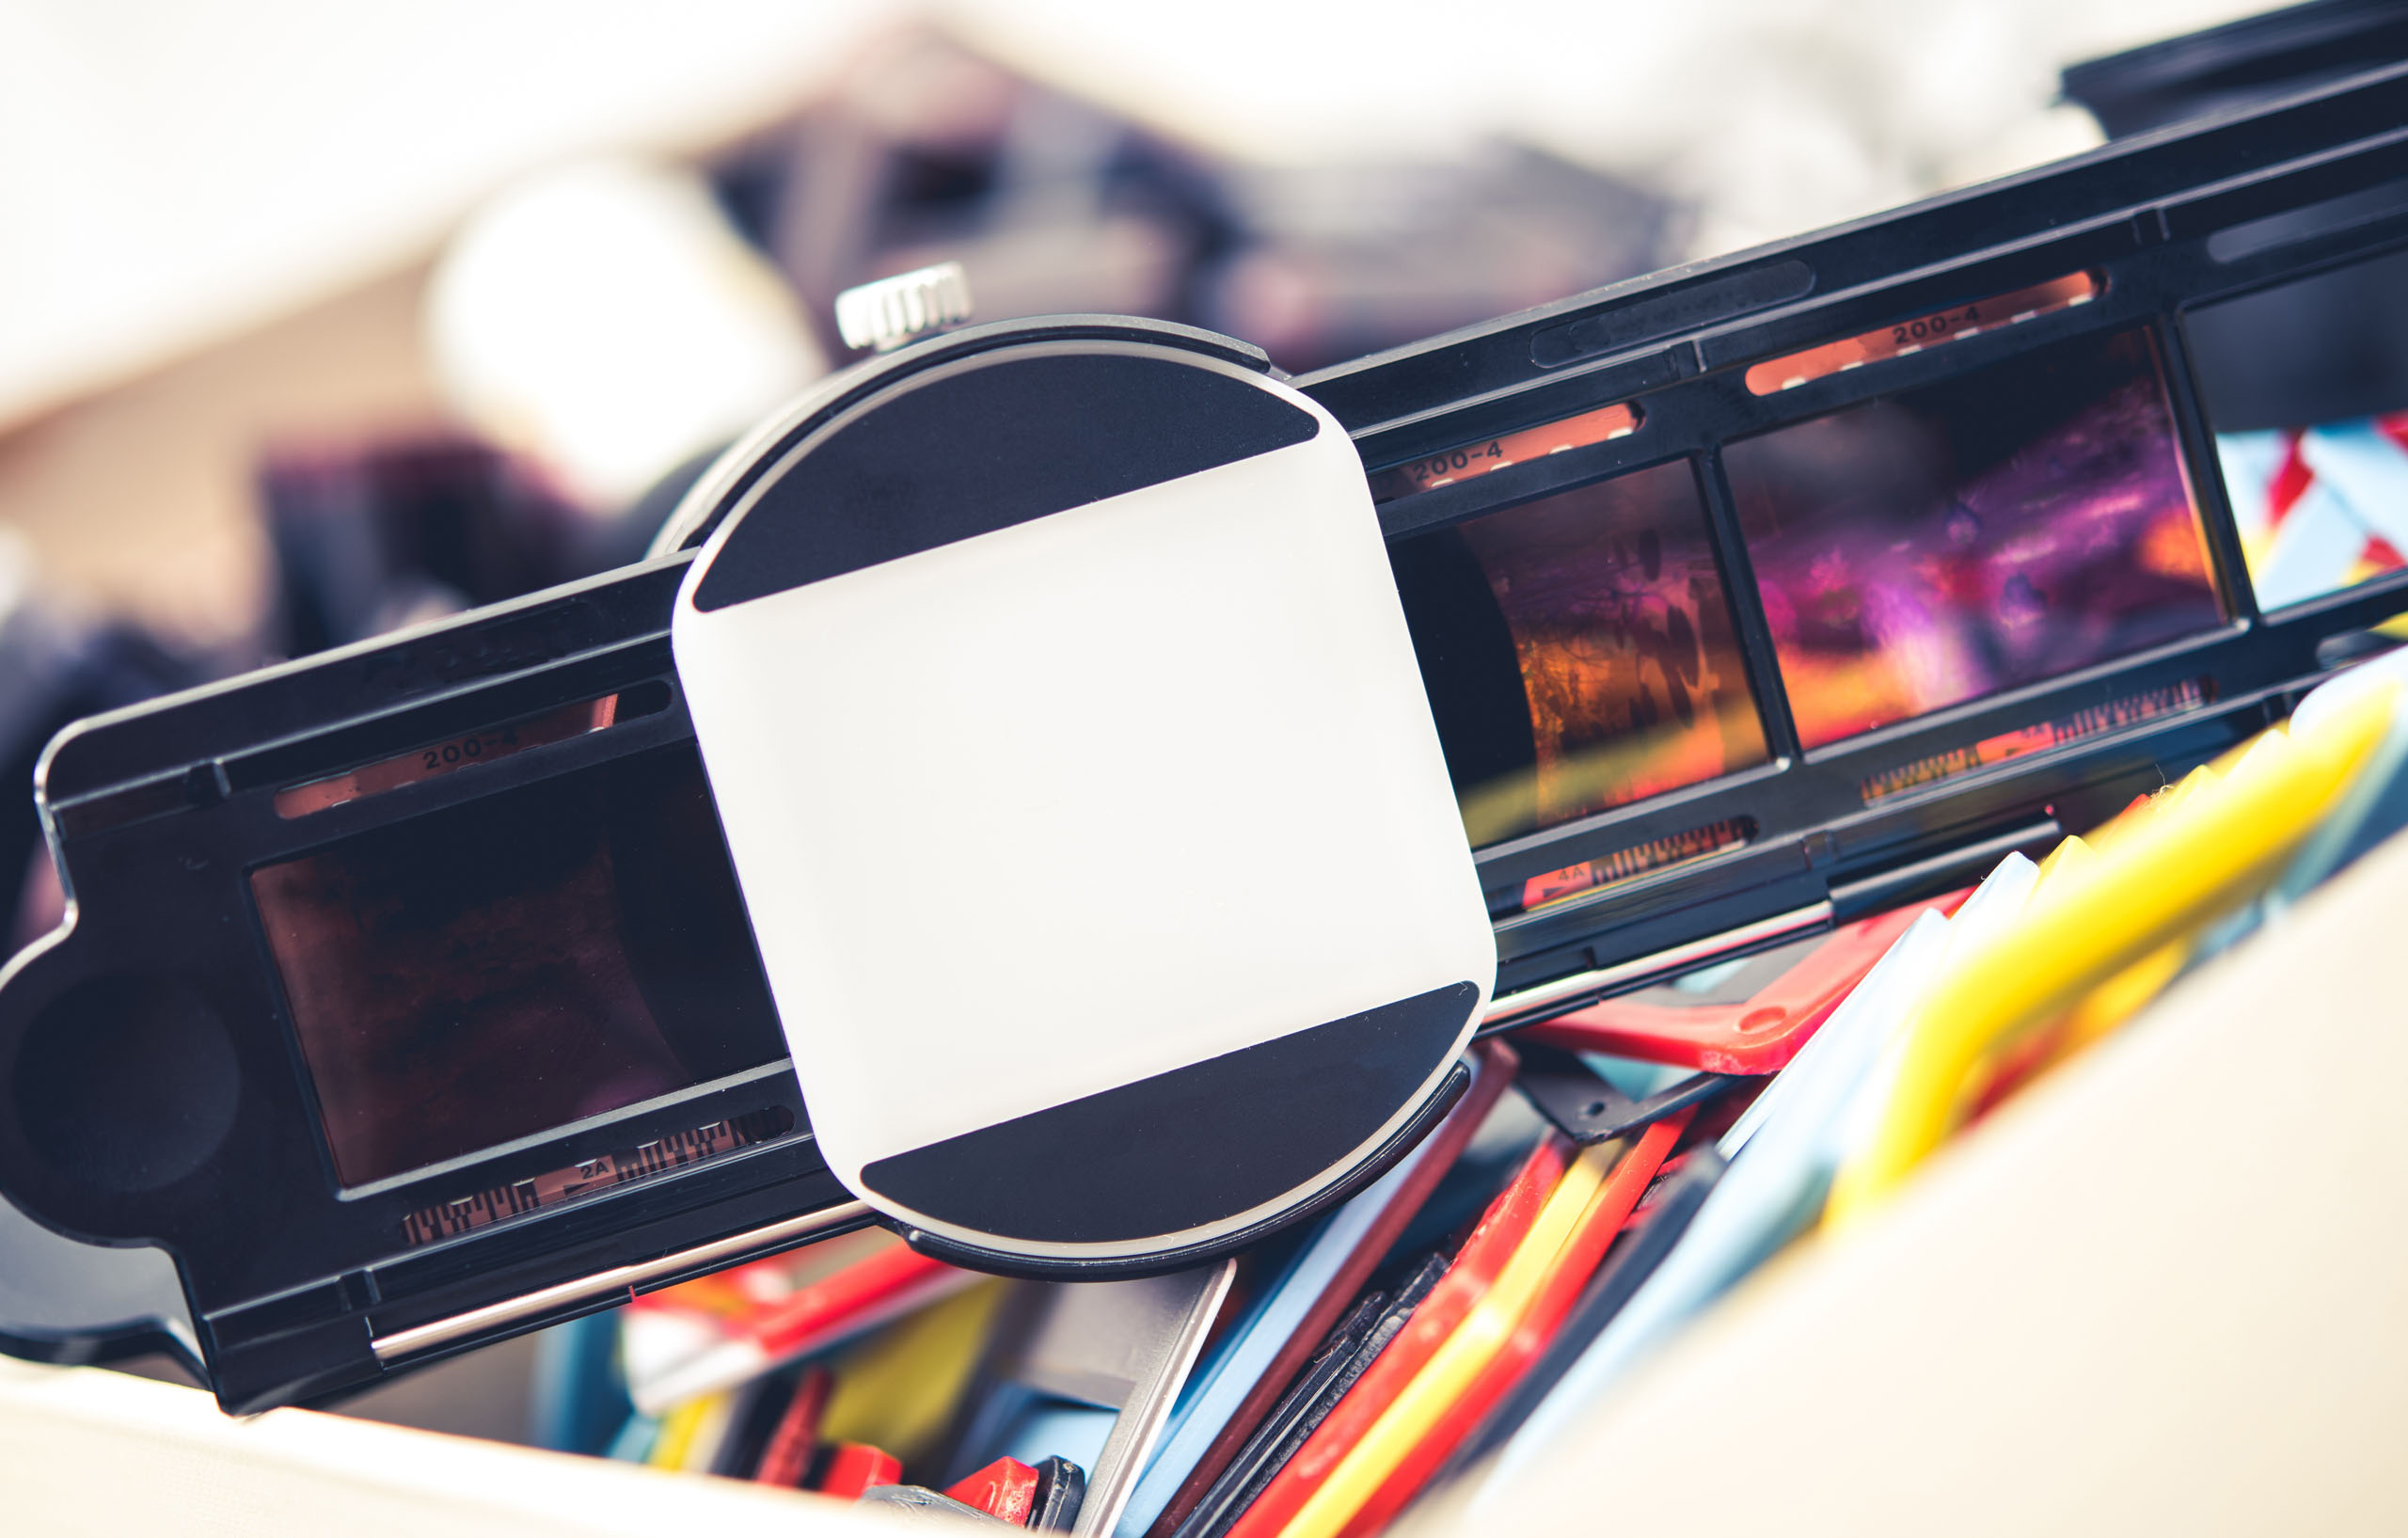
Film Scanning is the process of digitizing 35mm and 120 mm film negatives or slides into digital images. This is done by using a film scanner with a film adapter. It’s a great way to preserve your old memories, share them on social media or for Photo Prints. A Film Scanning workflow typically involves several steps to ensure high quality digital images from your film negatives or slides.
Here’s a outline of the workflow required for Film Scanning:
Preparation
-
Organize and clean your film negatives or slides to remove dust.
-
Set up your scanner, ensuring the scanner is aligned properly.
Scanning
-
Set the appropriate settings for resolution at least 2400 dpi, color mode 16-bit or higher, and file format such as JPEG or TIFF for high quality output.
-
Perform a preview scan to adjust cropping, exposure, and color balance, once all the adjustments are made in the preview scan then the final scanned film negatives or slides is then processed to JPEG or TIFF file format.
Editing
-
Import the scanned images into photo editing software like Photoshop, Lightroom or Affinity Photo.
-
Adjust exposure, color balance, and sharpness for enhanced images of the scanned negatives or slides.
Output
-
Organize files with unique file names.
-
Save edited images and deliver to client in the desired file format.